Spring has incredibly managed to take a flow controller that everyone needs, and turn it into a swiss-army knife for your window cleaning van that not only gets the best from your pump, but also wholly automates your fill cycle, protects your RO membrane, and ultimately saves you money! The big question is, have they been too ambitious and is it worth your hard-earned cash?
If you are looking to buy a v16 controller we recommend going to Xline. They stock the entire range, are really helpful, and if you use the code TCG5 at checkout you will get an extra 5% discount!
If you are looking for a multitasking controller check out this video where our mate Ian Sheppard from Spring explains some of the more advanced features of the v16 Fill, Flush and DI Saver, and the v16 with Charge Controller.
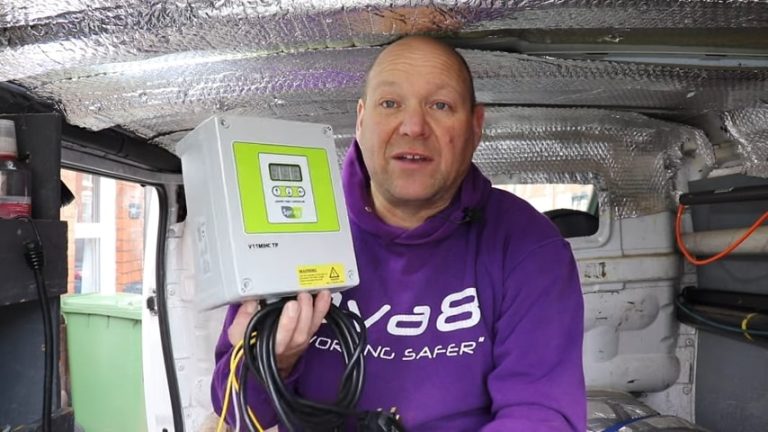
V16 Controller
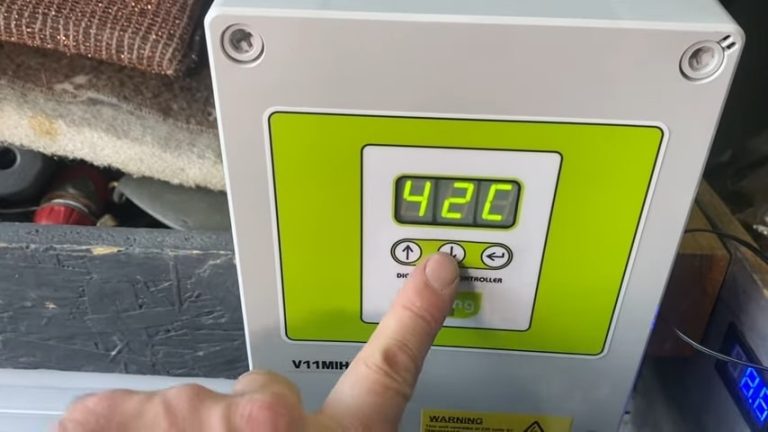
As a base, this is the proven v16 controller. It reliably and accurately controls how hard your pump works and how much water you get to the brush head.
There are many features of the v16 controller, but some of our favourites are the reduced battery drain of the v16 vs earlier models due to the more efficient way it manages your pump, auto-calibration and a built-in voltmeter.
However, this review is for one of the more advanced controllers in the v16 range and has some extra features packed into it.
Fill
This controller manages your filtration and ensures that it cuts the flow of water when your tank is full.
This works by adding a float switch to your water tank, and a solenoid valve to the water input. Simply press the up and down arrows at the same time to start the fill cycle, and it opens up the solenoid to allow water to start flowing to your filters. When the float switch activates it closes the solenoid valve and cuts off the flow, leaving your tank perfectly full without you having to do anything.
There are two filling modes:
Fill on demand – This is designed for when you fill up your van ready to work the next day. You will not be using the water in the same place that you are filtering it, so it is a one-time fill. It begins when you press the up and down arrows at the same time, and ends when the water lever reaches the float switch.
Fill delay – This is designed for if you need to filter water at the same time that you are using it. For example, if you are working at a large commercial job and need to be constantly filtering water so you have enough to complete the job.
This is either set to on or off in the settings. If you are producing water faster than you are using it it will cut off the supply when the water level reaches the float switch. Now is where the delay feature comes in. You can set a 0-10 minute delay before it restarts the fill cycle, meaning that your tank will always be topped up, but never overflowing!
Having the fill feature saves so much time, no longer do you have to manually check the water level in the tank. We have been using this for about 4 months now and have never had a problem. Usually, we leave it filling at night while we sleep and wake up to a van perfectly filled with pure water.
Flush
You may know that to prolong the life of a ro membrane you should flush it at the start of every fill cycle. But honestly – how many of us ever do that?
The flush feature automates this task, effortlessly keeping your ro membrane performing at its peak and lasting as long as possible.
It does this by adding in a bypass circuit with a normally closed solenoid valve around the flow restrictor on the waste hose leaving the ro membrane. When it opens up it allows a surge of water to flush the membrane through for 5 minutes.
There are four settings that you can use:
Autoflush off – This will not use the flush feature. This can be useful for example if you are on a job and quickly trying to filter some water and you don’t have time to wait 5 minutes before it begins filtering.
Autoflush setting 1 – This flushes for 5 minutes at the start of the fill cycle, and then flushes for 40 seconds every hour afterwards.
Autoflush setting 2 – This just does a 5 minute flush at the start of the fill cycle.
Manual flush – This allows you to manually flush the system without filling.
We have been using this feature for about four months and have found it flawless. We use the Autoflush 2 mode to try to find a balance between saving the ro membrane and being on a water meter.
Even though the ro is being used in a very hard water area it should last for a long time as it is being kept in tip-top condition. This is where the flush feature can actually save you money in the long run.
Here is Spring’s video explaining the fill and flush:
DI Saver
The DI Saver is designed to prevent high TDS water from going through your expensive DI resin.
You may know that the ro takes time to reach its peak efficiency and output the lowest TDS. Immediately after it is connected to the water, the product output will be only a little lower than the input, but over the next few minutes it will drop down until it reaches its target rejection rate.
The DI saver prevents this high TDS product water from reaching the DI vessel and quickly wearing out your resin.
It achieves this by adding in a bypass circuit with two solenoids around the DI vessel.
When it is flushing it opens the solenoid valve to send any water from the ro pure output to waste (even when flushing there is still a very small amount of water that passes through the ro membrane). When the flush cycle has finished the solenoid to the DI vessel remains closed for a further 2 minutes, sending all of the high TDS water to waste.
After this, the DI bypass valve closes and the solenoid to the DI vessel opens allowing pure water to start filling your tank.
There are no settings to be configured for the DI saver, it is all automatic. Regardless of which autoflush mode you use, there will always be a 120-second DI bypass to follow a flush cycle.
We have been using this for a while now and though we only have a small DI vessel (approx 7 litres) we have not yet had to change the resin and the output is still at 000ppm.
Here is Spring’s video explaining the DI Saver:
Setting it up
If you have the full fill, flush and DI saver you will need to add 4 solenoids and a float switch to your system.
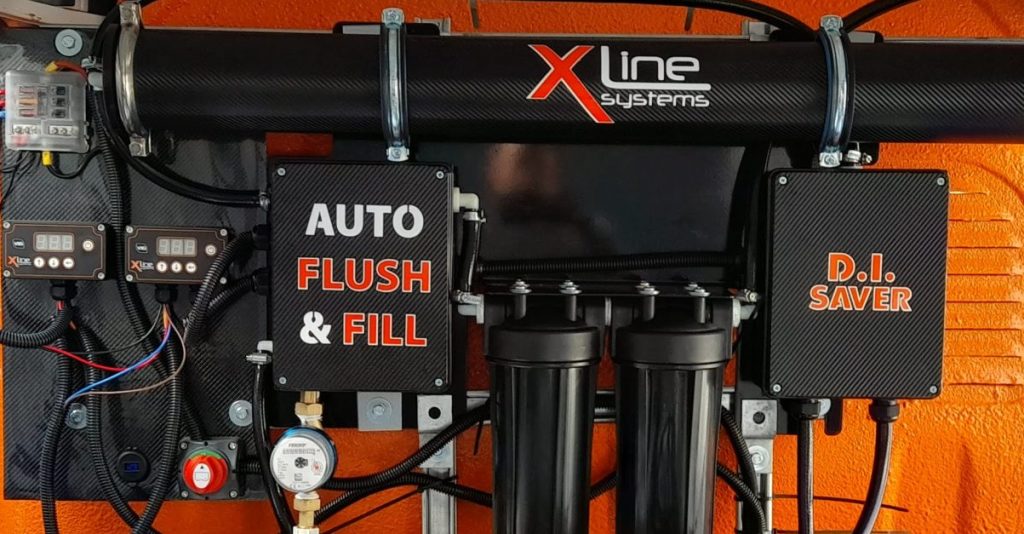
Working out where to put them all can be confusing, and keeping it all neat and tidy is even harder than understanding how it works! Thankfully this is where Xline has a really helpful solution.
They have created small pre-made boxes that can be added to an existing system that has the solenoids and wiring already done.
There is a Fill and Flush box, and a separate DIS box. Along with making your job so much easier, if you use the code TCG5 when ordering these you will save 5% off the list price!
We highly recommend Xline for your controllers and filters, and don’t remember to use TCG5 when ordering to bag your discount!
Thanks for reading and if you want to know more you can follow along in the video below to watch Sam installing the v16 Fill, Flush and DI Saver controller and Xline filters into his van: