This may be simple to many long-time window cleaners, but lots of newbies want to know the best way to change the resin in a DI pressure vessel. Follow along with my super simple beginners guide to see how you can quickly replace used resin and get some of my top tips!
Follow along with this video, or read a step-by-step guide in the article below.
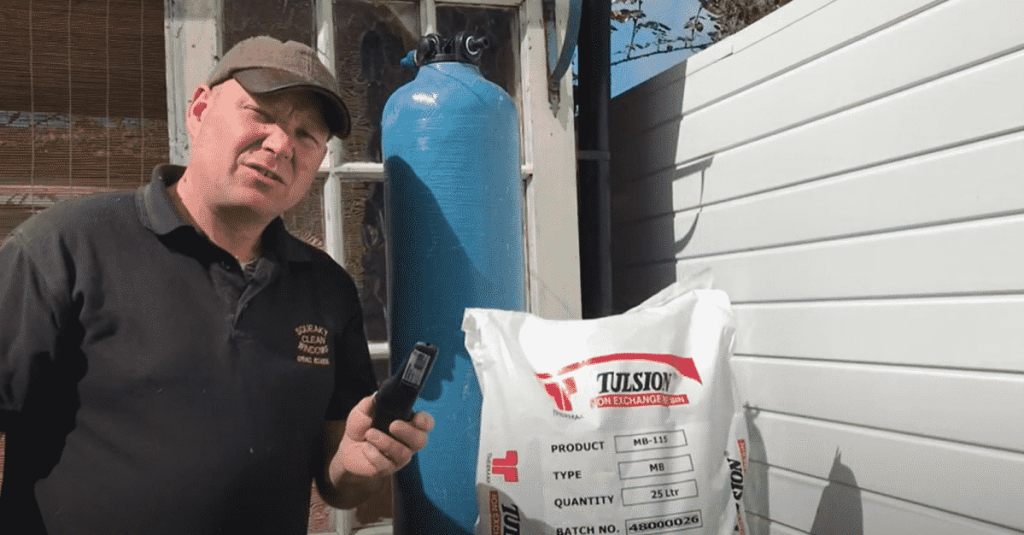
1. Empty the old resin out
Tip the old used resin into a bag. If you can use a sack it is best because it will allow the water to drain away and just leave resin in the bag.
Because a bag of resin can be heavy and difficult to handle, I’ve found it is best to pivot it on the new bag of resin.
Used resin is harmless so you can seal up the bag and throw it away in your household bin.
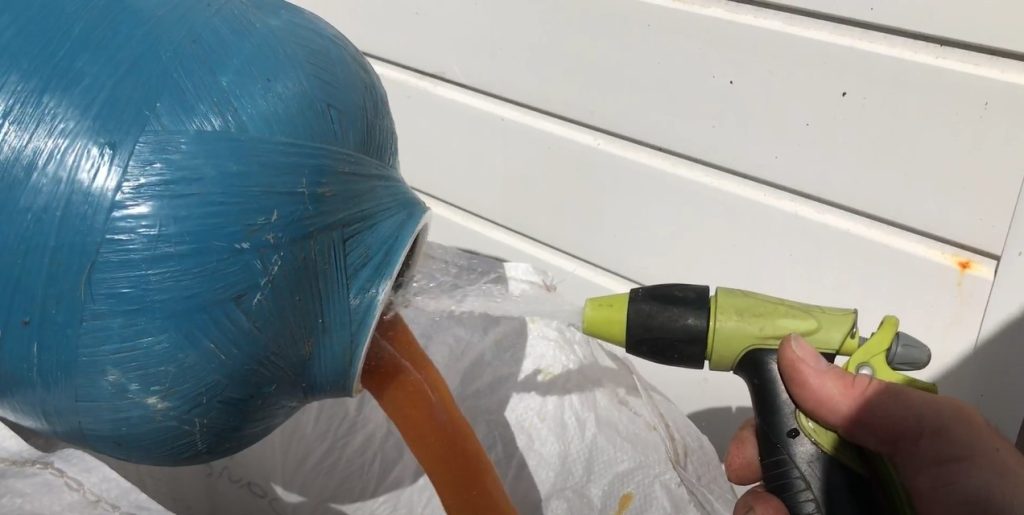
2. Clean the DI pressure vessel
Although it won’t hurt if some old resin is left in the pressure vessel it is best to remove it because it is just unnecessarily taking up space in there and doing nothing.
Shake as much out of the bottle as you can, and then wash it out with a garden hose and lots of tap water.
3. Fill with new resin
According to the safety sheets, you should wear gloves and goggles when handling new resin, and they also recommend removing contact lenses beforehand. Remember that it is strong acid-based. If you were to get any in your eyes you should hold them open and flush with water for 15 minutes.
If your riser separates from the head, you can separate them and put the riser (the bottom half) into the DI bottle. I recommend using a wine bottle stopper to cork the top of the pipe and stop it from filling with resin. If your riser does not separate from the head you will have to push all in together later.
After struggling for years to fill the DI vessel without spilling lots of new and expensive resin, I would strongly recommend a specially designed DI funnel. It is made to fit into the top of the DI vessel and has a really wide top to pour into. It will ensure that you barely spill any of your precious resin.
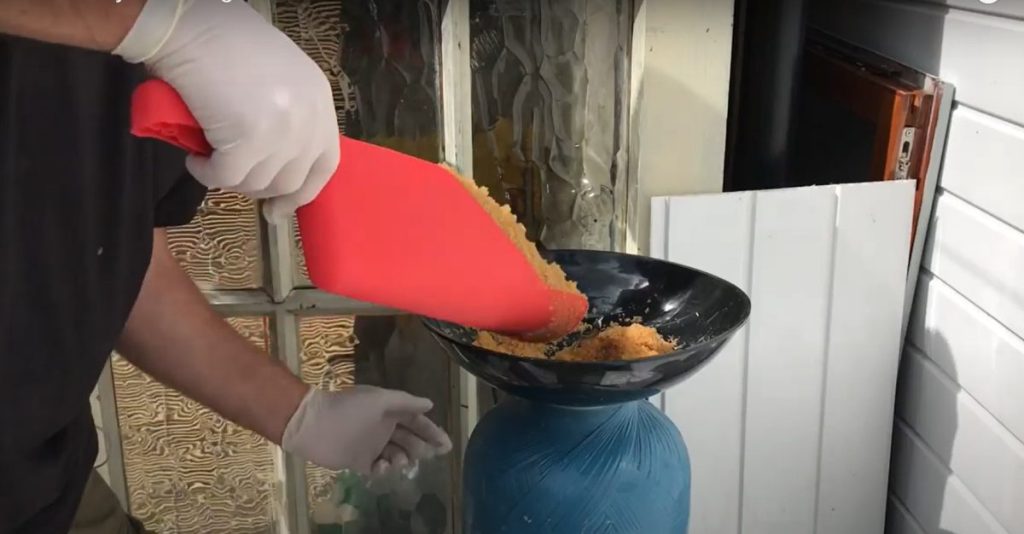
If your DI head didn’t separate from the riser then remember you don’t want to pack it so tightly that you can’t fit the riser back in afterwards however you want to fill it as much as possible so that you don’t have to refill too often.
You can use a little bit of pure water to flush the resin in (you don’t want it overflowing at this stage), or a stick or similar to wiggle it around and move it to the edges ensuring there are no voids in the DI vessel.
4. Top up with pure water
If the riser separated from your head, you should now remove the wine stopper that was corking the pipe and remove the funnel. Wash off the threads with pure water and will the DI vessel with pure water.
If the riser and head did not separate, you need to wash off the threads with pure water and gently push the whole head/riser combo down into the resin. Having the resin wet can make this easier, though it can still be tricky.
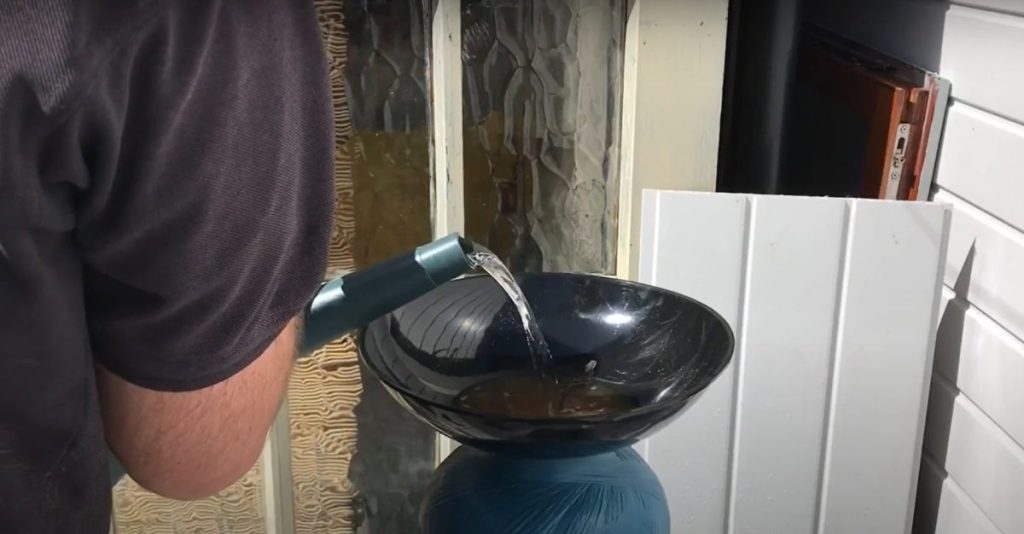
It’s okay if you do not have pure water for this step and you use tap water instead, it’s just that it will deplete your resin quicker. If you fill it up with tap water (it’s good practice even with pure water), check the TDS before you reconnect it to your water tank to make sure you are filling it with pure water.
Finished
You are all done and ready to produce lots of pure water to make you lots of money! Changing resin isn’t difficult, but as you saw, a few simple tips can make the whole process a lot easier.